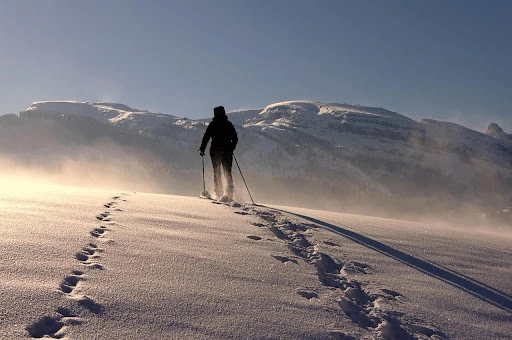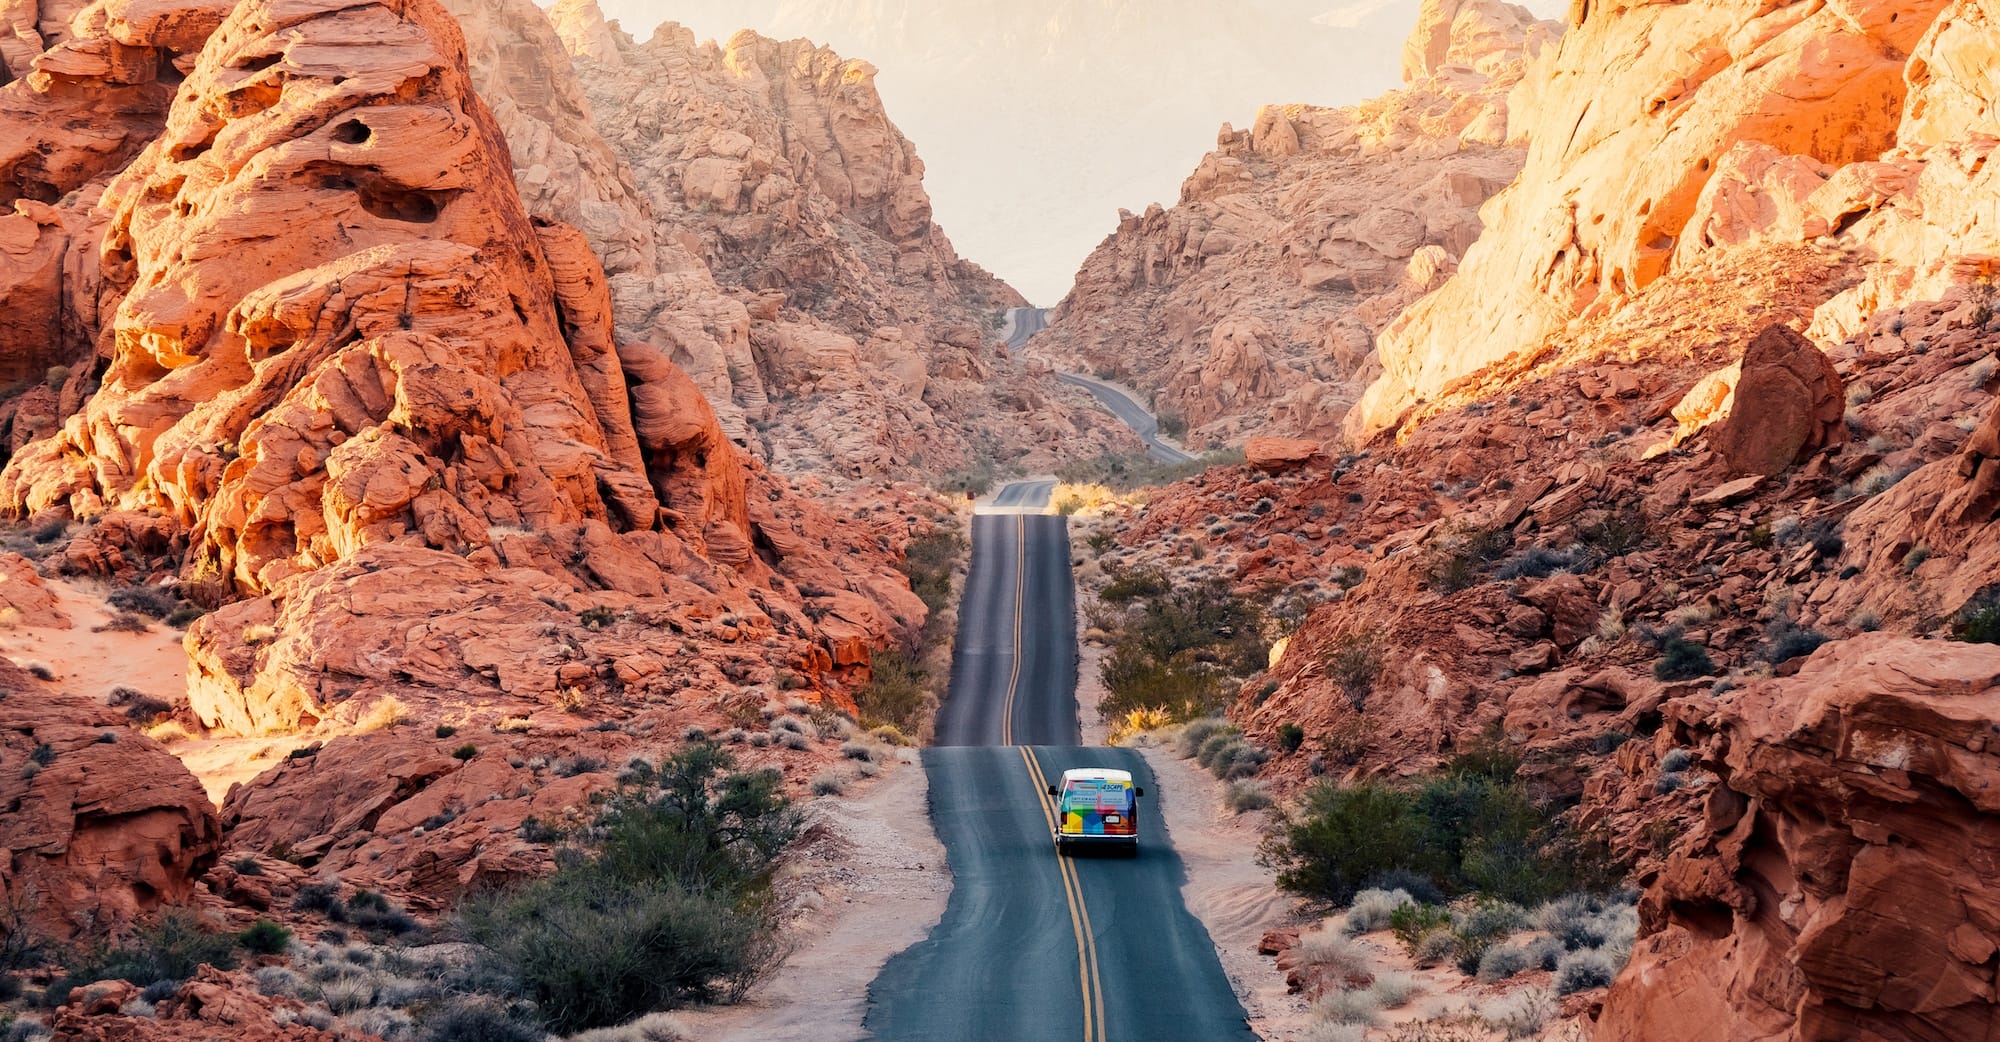
You’re three days into a winter trip. The forecast promised “cloudy,” but it’s been nothing but gray skies, mist, and intermittent snow since you left the trailhead. Your socks are damp. Your gloves never quite dried after yesterday’s sleet. The tent walls are slick with condensation, and there’s no sun in sight-now or tomorrow. This is the moment when a lot of trips start to unravel.
Drying gear in winter without sunlight isn’t convenient, fast, or comfortable-but it is absolutely doable. The key is dropping the idea that gear needs to be perfectly dry and replacing it with a more realistic goal: reducing moisture enough to stay warm, functional, and safe. Experienced winter travelers don’t wait for the sun. They manage moisture constantly, use low-tech tricks that actually work, and avoid the mistakes that turn wet gear into a hypothermia problem.
This article focuses on real-world techniques you can use mid-trip, in overcast, sunless winter conditions, without fire or electricity.
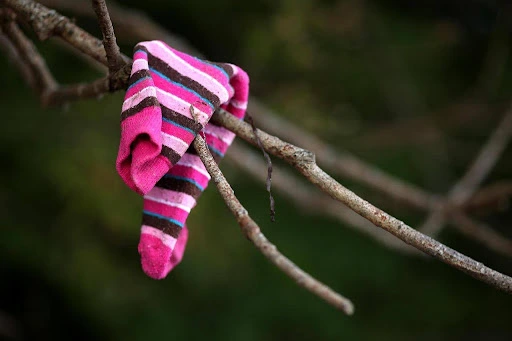
Table of Contents
Keep Gear Drier Before It Gets Wet
The easiest gear to dry is the gear that never gets soaked in the first place. In winter, most moisture doesn’t come from the weather, it comes from you.
Layering correctly is the foundation. Your base layer’s job is moisture management, not warmth. Wool and synthetics move sweat away from your skin; cotton traps it and becomes a liability. Insulation layers should be added and removed early and often. If you wait until you’re already sweating, you’re already losing the battle.
Ventilation matters more than insulation on the move. Open pit zips, unzip chest zippers, loosen hoods, and dump heat the moment you feel yourself warming up. Overheating for ten minutes can soak a base layer enough to stay damp all day.
Material choice matters in sunless conditions. Synthetics dry faster and retain some warmth when wet. Down is excellent when dry, but risky in persistently wet weather unless you’re confident you can protect it. Treat moisture as a constant threat that needs management, not something you’ll “deal with later.”
Strip Water Out Immediately in the Field
Once gear is wet, your first job is to remove as much water as possible-immediately. Waiting until camp makes everything harder.
Start with aggressive wringing. Don’t be gentle. Twist socks, base layers, and gloves until water stops dripping. Use your knees, trekking poles, or a tree trunk to apply leverage. You’re not damaging the gear-you’re saving it.
Absorption is your next tool. A small pack towel, bandana, or even a dry spare shirt can pull surprising amounts of moisture out of wet items. Wrap the damp gear tightly, press firmly, then wring the towel itself.
Airflow matters, even when it’s cold. Wind dramatically improves evaporation. Strap damp items to the outside of your pack while hiking, where movement and airflow can do some of the work. In cold conditions, slightly damp gear worn while moving can dry faster than gear stuffed in a pack.
That said, be selective. Never wear soaking-wet insulation layers while stationary, and never gamble core warmth just to dry something faster. The goal is moisture reduction without creating new problems.
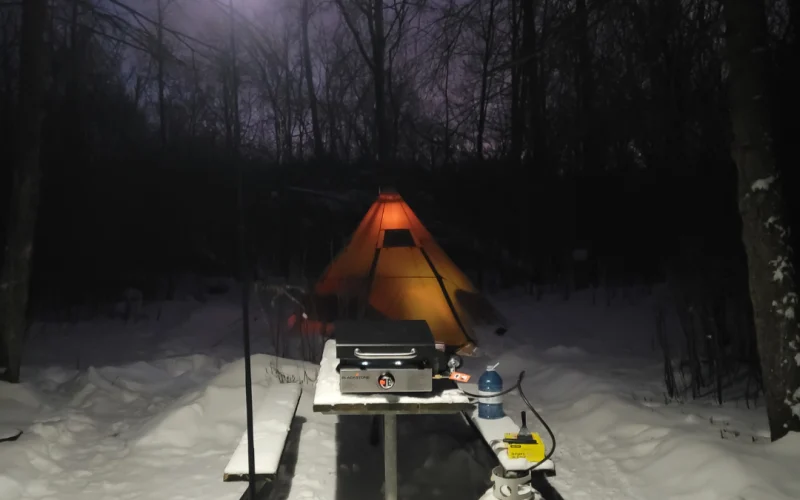
Drying Gear in Camp Without Sun or Fire
Camp is where most winter drying happens-or fails. Without sun or fire, success depends on heat management, airflow, and discipline.
Indoor-tent drying lines are one of the most effective tools when used correctly. Hang items high, away from sleeping gear, and prioritize airflow. This only works if the tent is vented. A sealed tent traps moisture and freezes it onto everything by morning.
Body heat is your most reliable drying source, but it must be used carefully. Small items like socks or glove liners can be placed near your core-against your stomach or thighs-while you’re awake. Never put wet items inside your sleeping bag unless they are barely damp and you are confident they won’t compromise the insulation inside.
A safer method is placing damp items between your base layer and midlayer while active in camp. This allows body heat to drive evaporation without soaking insulation.
Tarp setups often outperform tents for drying. A well-pitched tarp with good airflow reduces condensation and allows gear to dry more effectively than sealed shelters. Condensation control is critical, be sure to vent aggressively, even when it’s cold. Frozen moisture is still moisture.
Handling Boots, Gloves, and Insulated Gear
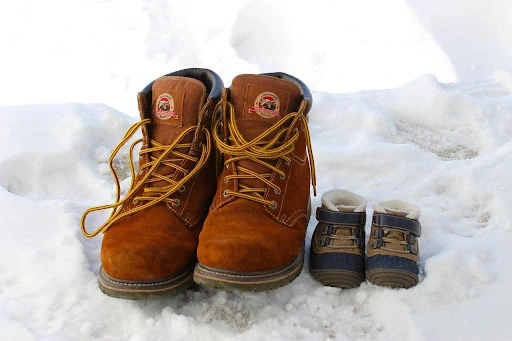
Boots are notoriously difficult to dry. If they have removable liners, take them out immediately. Insoles should always come out at night. Stuff boots with absorbent material-socks, spare clothing, or even dry moss in an emergency-and replace it as it becomes damp.
Gloves and mitts should be treated as systems. Dry liners separately from shells whenever possible. Rotate pairs during the day and protect at least one dry set at all costs. Once all gloves are wet, you’re on borrowed time.
Insulated gear requires patience. Synthetic insulation can tolerate slow, careful drying near body heat or hot water bottles. Down must be protected aggressively-once it’s wet, drying it without sun or fire is extremely difficult.
Vapor barriers can help in specific situations, such as preventing foot sweat from soaking socks inside boots, but they can also trap moisture if misused. Test them before relying on them in the field.
Avoid common mistakes. Don’t overload your sleeping bag with wet gear. Don’t seal damp items in dry bags hoping they’ll “dry later.” And never ignore early signs of hypothermia because you’re focused on gear management.

Final Thoughts
The best winter travelers prevent excess moisture, act quickly when gear gets wet, and use simple systems that work even under gray skies. They accept that drying is slow, incremental, and sometimes uncomfortable-but far safer than doing nothing.
If you wait for the sun, you’ll wait a long time. Practice these techniques on shorter trips. Learn what works with your gear. Because when the weather turns and the sun never shows, knowing how to dry your gear can be the difference between continuing safely and ending a trip early-or worse.